There is one app on my iPhone that I now simply cannot live without. The app is called Office Lens and it is available for free at the Apple App Store and for your Android phone on Google Play.
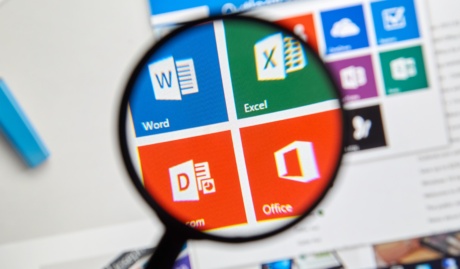
In a nutshell, the Office Lens app is a portable scanner in your pocket. Now, these kinds of apps aren’t new. You have Evernote, Scanbot and no doubt a variety of other flavours available to you on your Smartphone but where Office Lens shines is in its tight integration with the Office 365 suite.
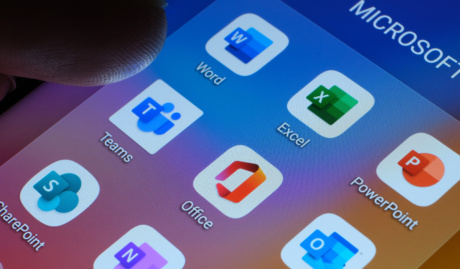
If you are rocking Office 365, odds are that you already enjoy the mobility and agility of access to all your documents and productivity applications from anywhere on your phone. Here is another tool in your toolbox to get the most out of the modern workplace.
Practical uses of Office Lens
Here are just some of the ways that I have personally used Office Lens in the past few weeks:
- At presentations:
I have been fortunate to attend some fascinating road shows hosted by cloud companies who are making fantastic presentations up on the big screen. Problem is, you’re often seated at a weird angle off to the side, right? You will see people snapping pics of the big screen at these kind of events, which is a great way of capturing the information. But, if you are using Office Lens, the image will automatically identify, keystone (correct the angle of the image for ease of viewing) and save with an optimised image where you can store it away in a OneNote file to annotate and comment so that you can more easily document and retain all of the cool stories on display.
- When collecting business cards:
Collected a pile of business cards at that networking event? Snap them in Office Lens and the app will automatically identify the printed text with optical character recognition (OCR) and generate contacts that you can add right into your phone. Handy.
- When documenting receipts:
When compiling expenses, having to dig out all those paper receipts can be tedious. Instead of being monopolising the office scanner in a scanning marathon, Office Lens enables you to snap a photo with your phone at the time. Office Lens will automatically crop, enhance and clean up the image and export it to your OneDrive as a PDF document ready to attach to your expense claim. Job done.
Sounds good, right? But how do you do it?
How-to Steps
- Install Office Lens on your device. Run the app, then give it permission to access your camera.
- The default view is a camera viewfinder. You can select from “Business Card”, “Document”, “Whiteboard” or “Photo” then point the phone at whatever you are wanting to capture.
- For Documents or Whiteboards, you’ll see the app attempt to frame the object by detecting the corners. Once it is framed to your satisfaction, snap it.
- The app will present you with a preview and give you the option to perfect the layout, be it cropping or rotating the image.
- You will be presented with a list of destinations for the image. This is where Lens comes into its own. You can save as: an image to your Photo Gallery, as a PDF to your OneDrive (perfect for those expense reports), to OneNote (perfect for saving presentation slides where you can annotate and comment) and you can even save directly to a Word document or PowerPoint Presentation.
- If you are working through multiple slides, or receipts, go ahead and append on the next one.
Have you given Office Lens a run yet? I’d love to hear how you are using it in your business.